Skip to content
Vivian Kim Studio
Featured
Stills
Motion
memories ⋆˙ ♡
Contact
← Back to List
GAP
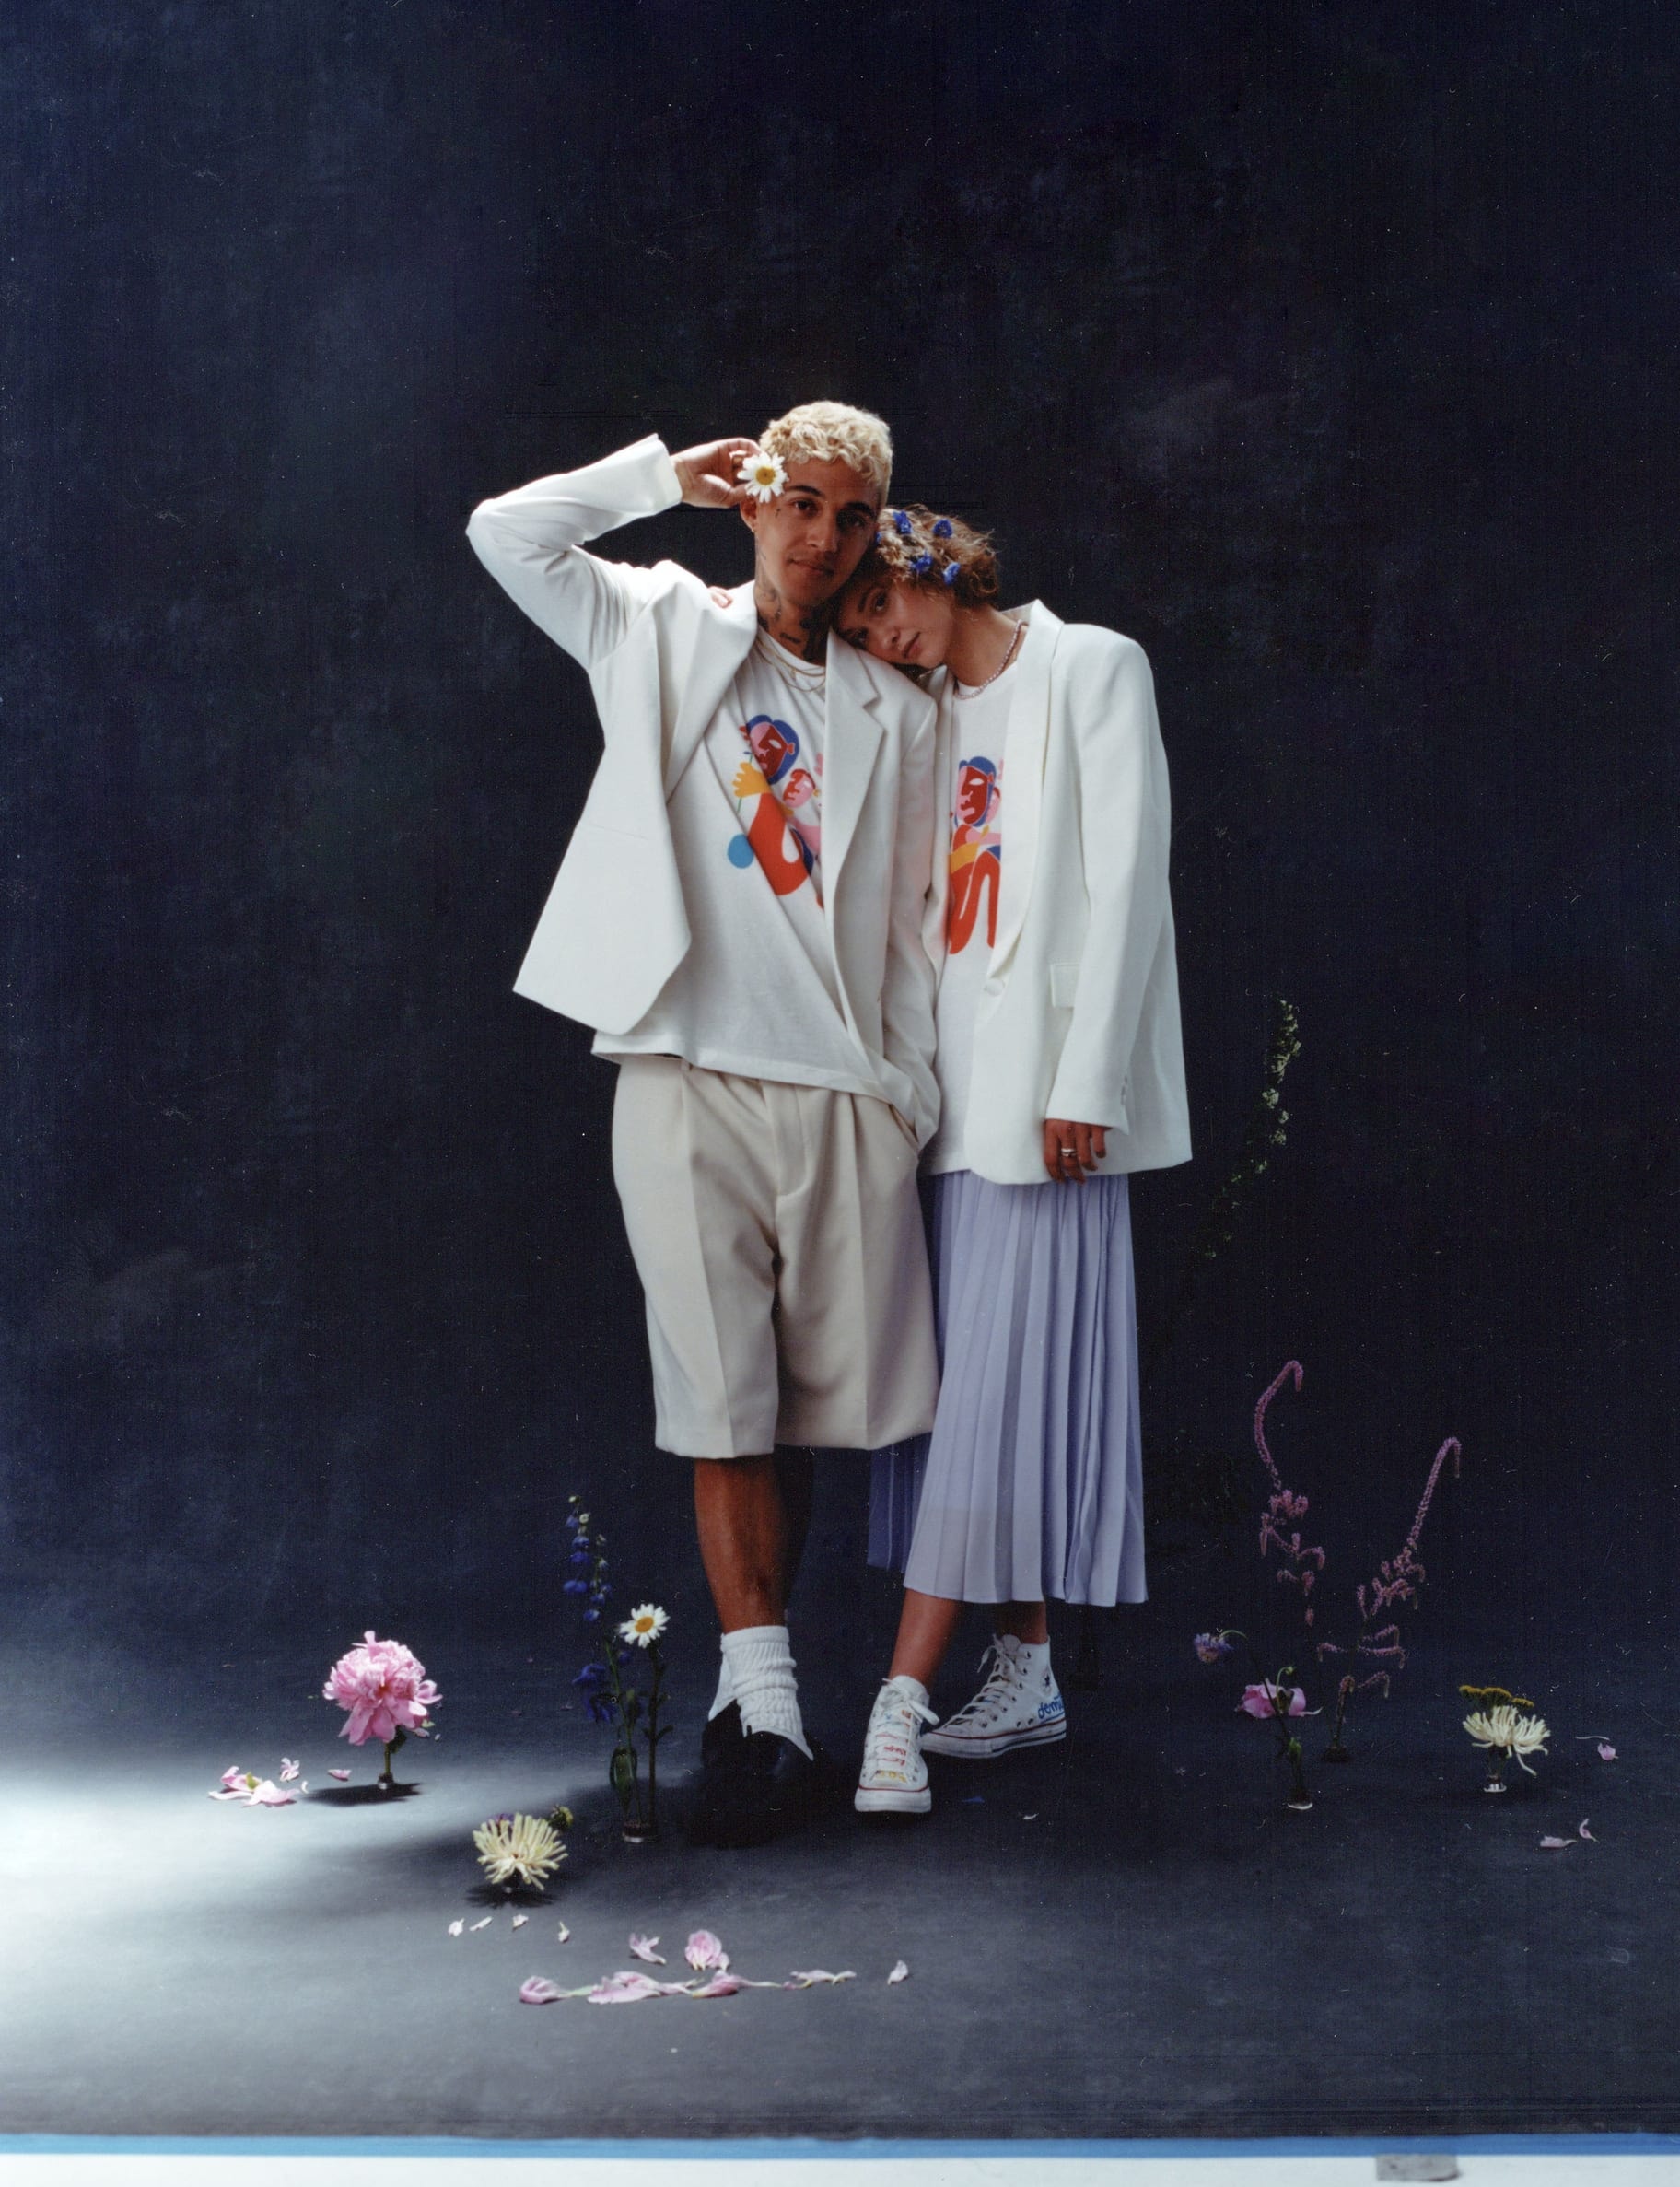
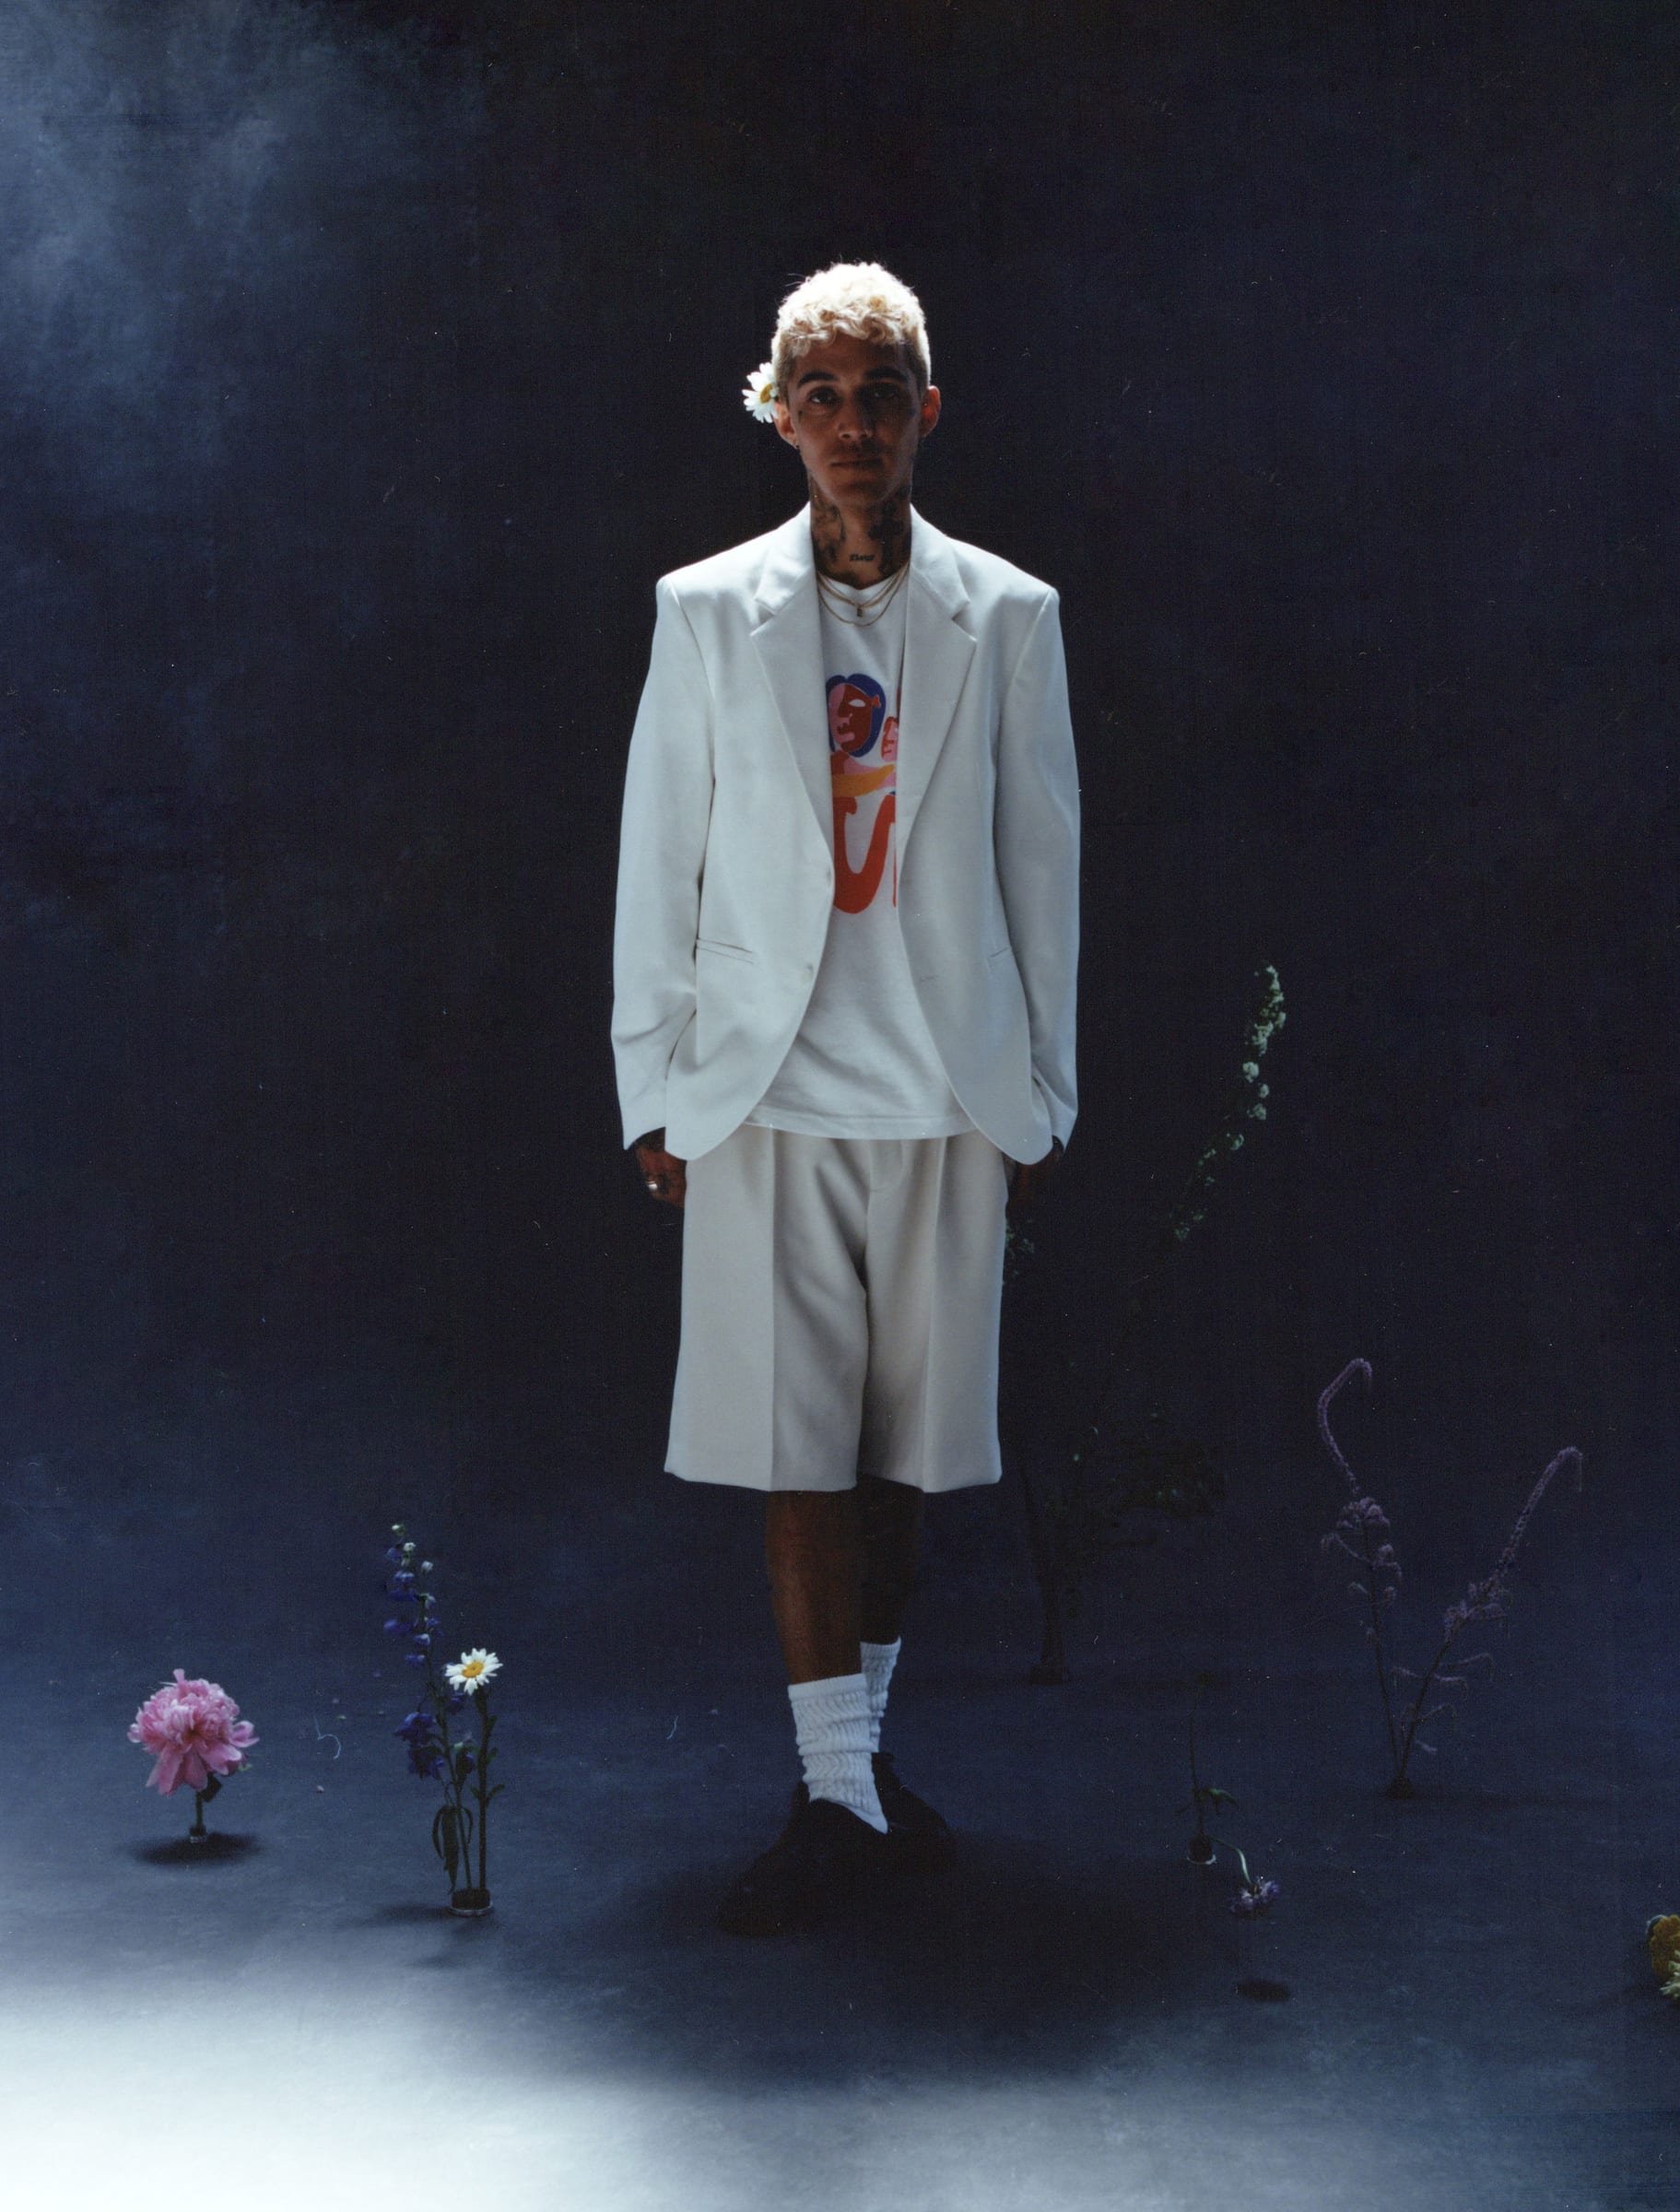
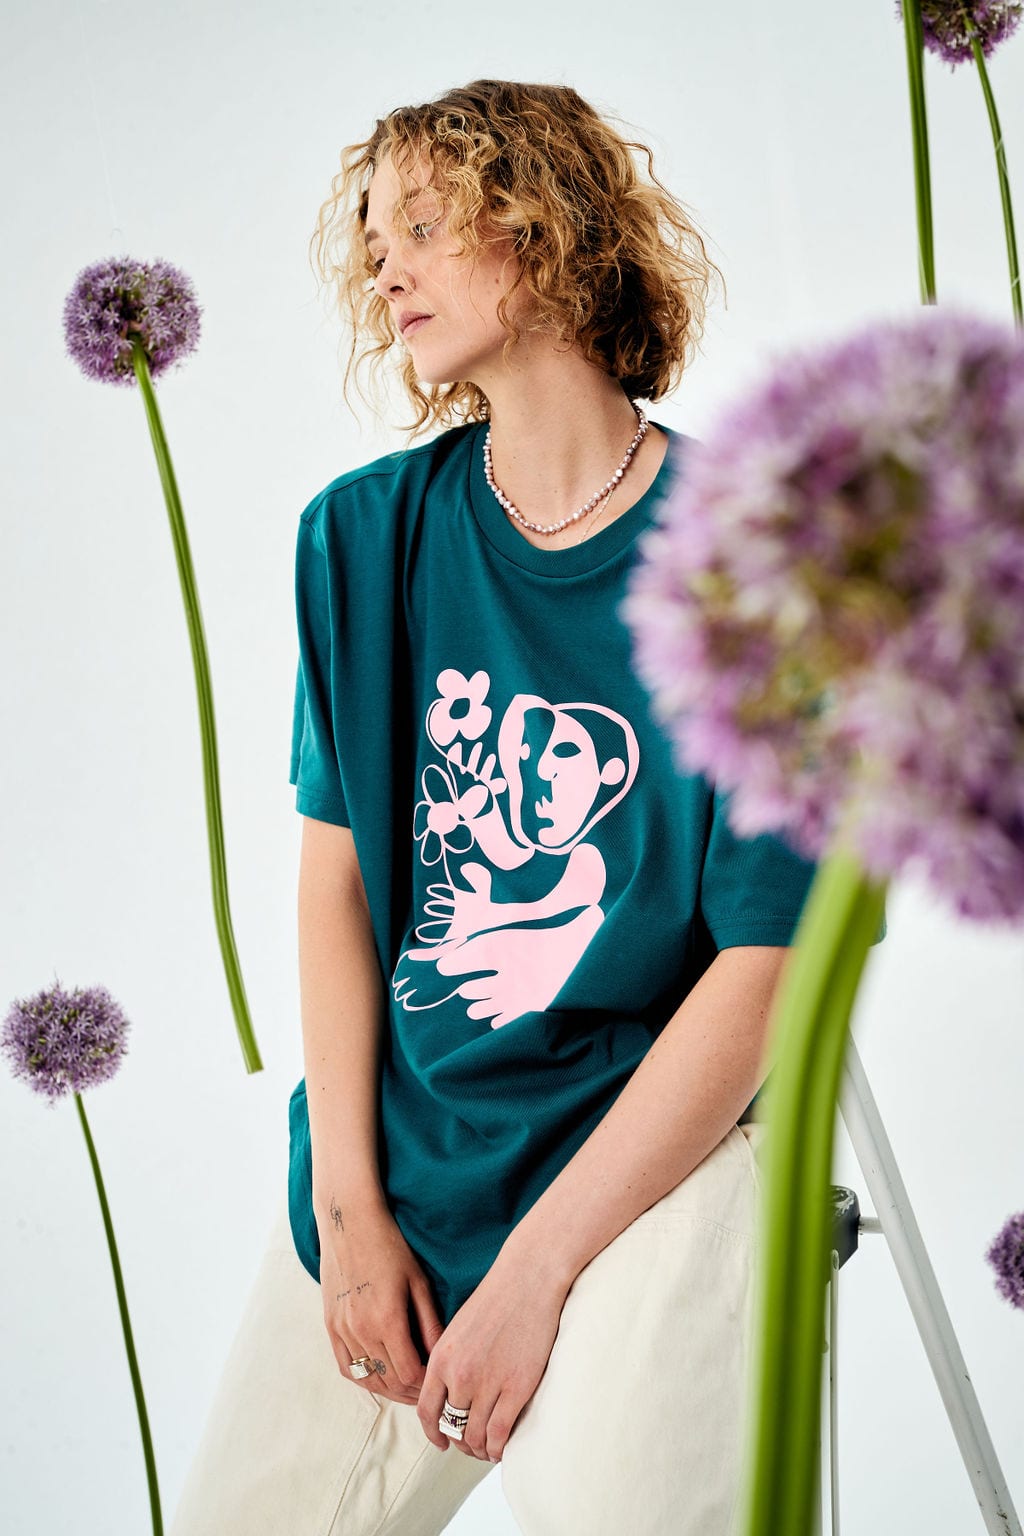
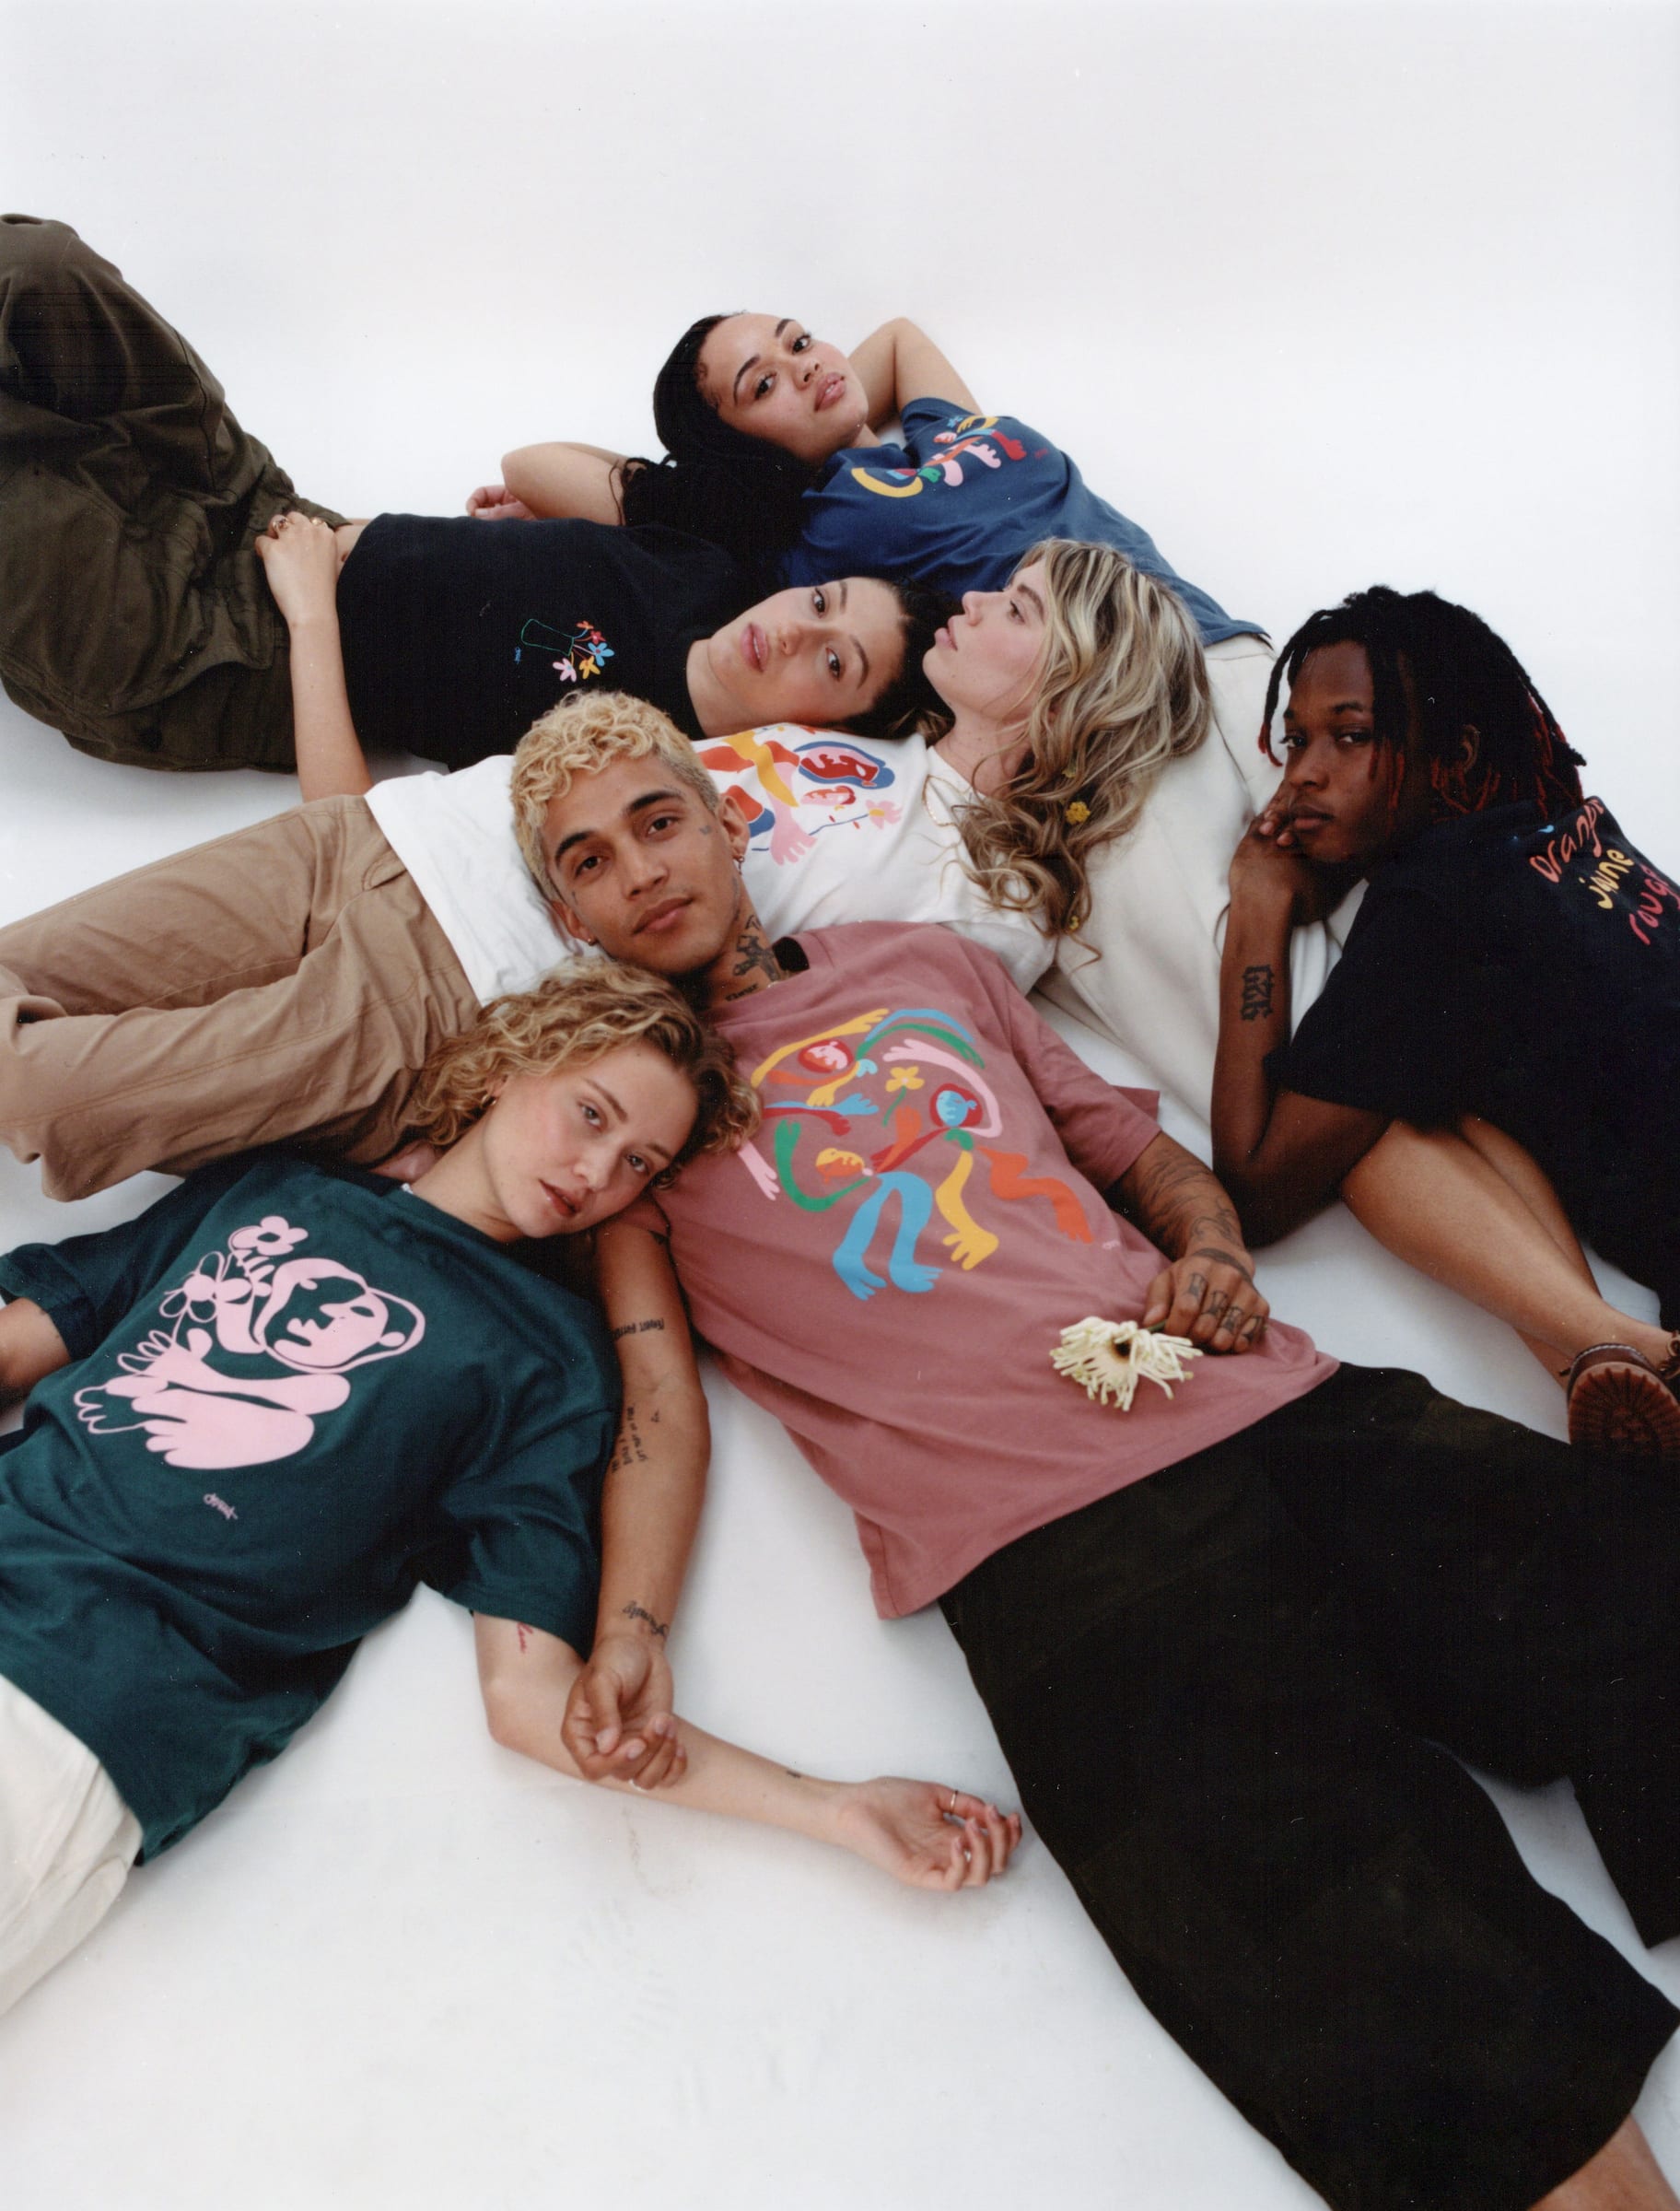
DEMIT COLLABORATION